Introduction
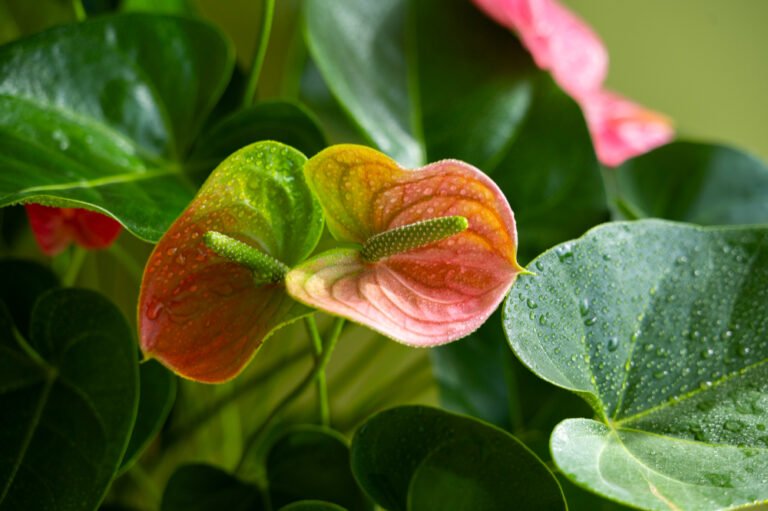
The Black Pagoda Lipstick Plant (Aeschynanthus longicaulis) is a captivating tropical plant known for its dark, marbled foliage and bright, tubular flowers. Propagating this plant can be a rewarding experience, allowing you to expand your collection or share it with friends. This guide will walk you through the propagation process step by step, ensuring you achieve the best results.
Why Propagate the Black Pagoda Lipstick Plant?
Propagating your Black Pagoda Lipstick Plant has several benefits. Not only does it allow you to create new plants from a parent plant, but it also helps rejuvenate the original plant by encouraging new growth. Propagation is a cost-effective way to increase your plant collection and make great gifts for fellow plant enthusiasts.
Understanding the Propagation Process
Propagation involves creating new plants from existing ones. For the Black Pagoda Lipstick Plant, this is typically done through stem cuttings. The process involves taking a healthy stem cutting and encouraging it to develop roots.
Best Time to Propagate
The best time to propagate the Black Pagoda Lipstick Plant is during its active growing season, which is in the spring and summer. During these months, the plant is more likely to root successfully and grow vigorously.
Materials Needed
Before you start, gather the following materials:
- A healthy Black Pagoda Lipstick Plant
- Sharp, clean scissors or pruning shears
- A small pot with drainage holes
- Well-draining potting mix
- Rooting hormone (optional)
- A clear plastic bag or a humidity dome
- Water
Selecting the Right Stem Cutting
Choose a healthy stem from the parent plant. Search for a stem that measures at least 4 to 6 inches in length and possesses multiple leaves. Avoid stems that appear weak or diseased. Healthy cuttings increase the chances of successful propagation.
Step-by-Step Propagation Guide
Step 1: Prepare the Cutting
Using sharp, clean scissors or pruning shears, cut a 4-6 inch stem just below a leaf node. Eliminate the bottom leaves, leaving a small cluster at the upper part.This helps the cutting focus its energy on developing roots rather than sustaining leaves.
Step 2: Optional – Apply Rooting Hormone
Immerse the trimmed end of the stem into rooting hormone. This can help speed up the rooting process and improve success rates, though it is not strictly necessary.
Step 3: Plant the Cutting
Fill a small pot with well-draining potting mix. Make a hole in the center and gently place the cutting into the soil, ensuring that the node where you removed the leaves is buried. Compact the soil around the cutting to firmly anchor it in place.
Step 4: Create a Humid Environment
Place a clear plastic bag or a humidity dome over the pot to cover it. This helps maintain high humidity levels, which are crucial for root development. Make sure the plastic does not touch the leaves, as this can cause rot.
Step 5: Place in Indirect Light
Place the pot in a location with bright, indirect light. Avoid direct sunlight, which can be too harsh and cause the cutting to dry out.
Step 6: Watering
Keep the soil consistently moist but not waterlogged. Regularly monitor the moisture level and lightly mist the cutting as needed. Avoid overwatering to prevent root rot by ensuring proper drainage.
Step 7: Monitor and Wait
Regularly inspect the cutting for indications of new growth. Root development can take a few weeks. You’ll know roots are forming when you see new leaves or resistance when you gently tug on the cutting.
Transplanting the New Plant
Once the cutting has developed a strong root system and is showing new growth, it’s time to transplant it into a larger pot. Use the same well-draining soil mix and gradually acclimate the new plant to normal humidity levels by removing the plastic cover for longer periods each day.
Tips for Successful Propagation
- Use Healthy Plants: Always take cuttings from a healthy, disease-free parent plant.
- Clean Tools: Sterilize your scissors or shears to prevent the spread of disease.
- Maintain Humidity: High humidity is crucial for root development, especially in the early stages.
- Be Patient: Rooting can take several weeks. Patience and consistent care are key.
Common Problems and Solutions
Problem: Cutting is Wilting
- Solution: Ensure the cutting is not in direct sunlight and maintain high humidity. Ensure that the soil remains consistently moist, avoiding waterlogging.
Problem: No Root Growth
- Solution: Be patient, as rooting can take time. Ensure the cutting is receiving adequate light and humidity. Using rooting hormone can also help.
Problem: Rotting Cutting
- Solution: Overwatering can cause rot. Ensure the soil has good drainage and avoid waterlogging. If rot occurs, start with a new cutting.
Conclusion
Propagating the Black Pagoda Lipstick Plant is a rewarding and straightforward process if you follow these steps. With the right care and conditions, you can successfully grow new plants and enjoy the beauty of this unique species. Happy gardening!
FAQs
1. Can I propagate the Black Pagoda Lipstick Plant in water?
Yes, you can propagate in water. Place the cutting in a glass of water and change the water regularly. Once roots have formed, relocate it into soil.
2. How long does it take for the cuttings to root?
It typically takes 4-6 weeks for roots to develop, but this can vary depending on conditions such as light, temperature, and humidity.
3. Do I need to use rooting hormone?
Rooting hormone is not necessary but can speed up the rooting process and increase success rates, especially for beginners.
4. Can I use regular potting soil for propagation?
A well-draining, peat-based potting mix is ideal. Regular potting soil can work if it is amended with perlite or sand to improve drainage.
5. What is the best time of year to propagate the Black Pagoda Lipstick Plant?
The best time to propagate is during the spring and summer when the plant is actively growing.