Soy Milk Maker Recipes: Easy Ratios, Cleanup & Honest Review
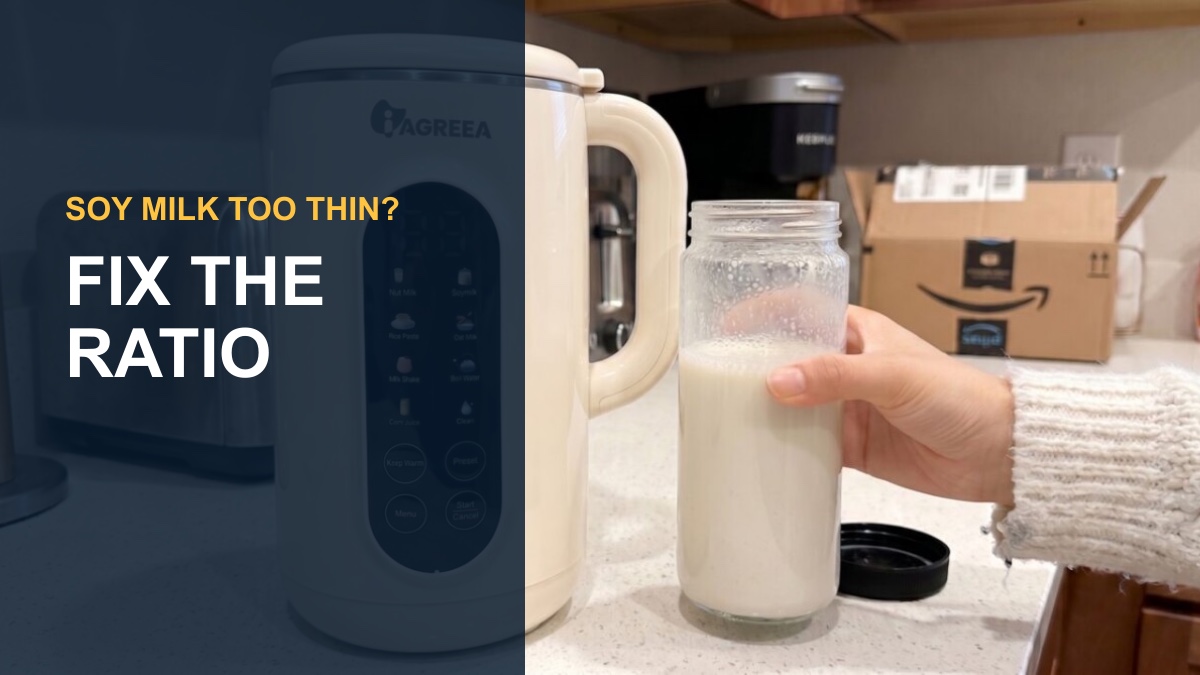
Good soy milk maker recipes begin with a conservative dry-ingredient ratio, enough water for the machine’s minimum line, and immediate cleanup. Adding more beans does not always make a better drink; it can make a pasty batch, cause scorching, or exceed the appliance’s operating limit.
We use an automatic hot-blending machine similar to the IAGREEA model sold online. The recipes below are starting points for a roughly 34-ounce class machine. Your manual’s minimum, maximum, and ingredient limits always take priority.
At a glance
- Best first recipe: Plain soy with a light ratio and no sweetener
- Best texture fix: Use less dry ingredient before adding more water
- Best time to clean: Immediately after pouring
- Sweetener timing: After the hot cycle unless the manual says otherwise
- Storage: Cool promptly, refrigerate, and use within a few days
Soy milk maker recipe ratios to start with
These are deliberately light ratios. Increase the next batch in small steps only after checking thickness, foam, and residue. Never fill above the appliance maximum or block a vent with ingredients.
| Drink | Dry ingredient starting point | Water | Program |
|---|---|---|---|
| Plain soy | 1/3–1/2 cup soybeans | To the machine’s safe line | Soy/beans |
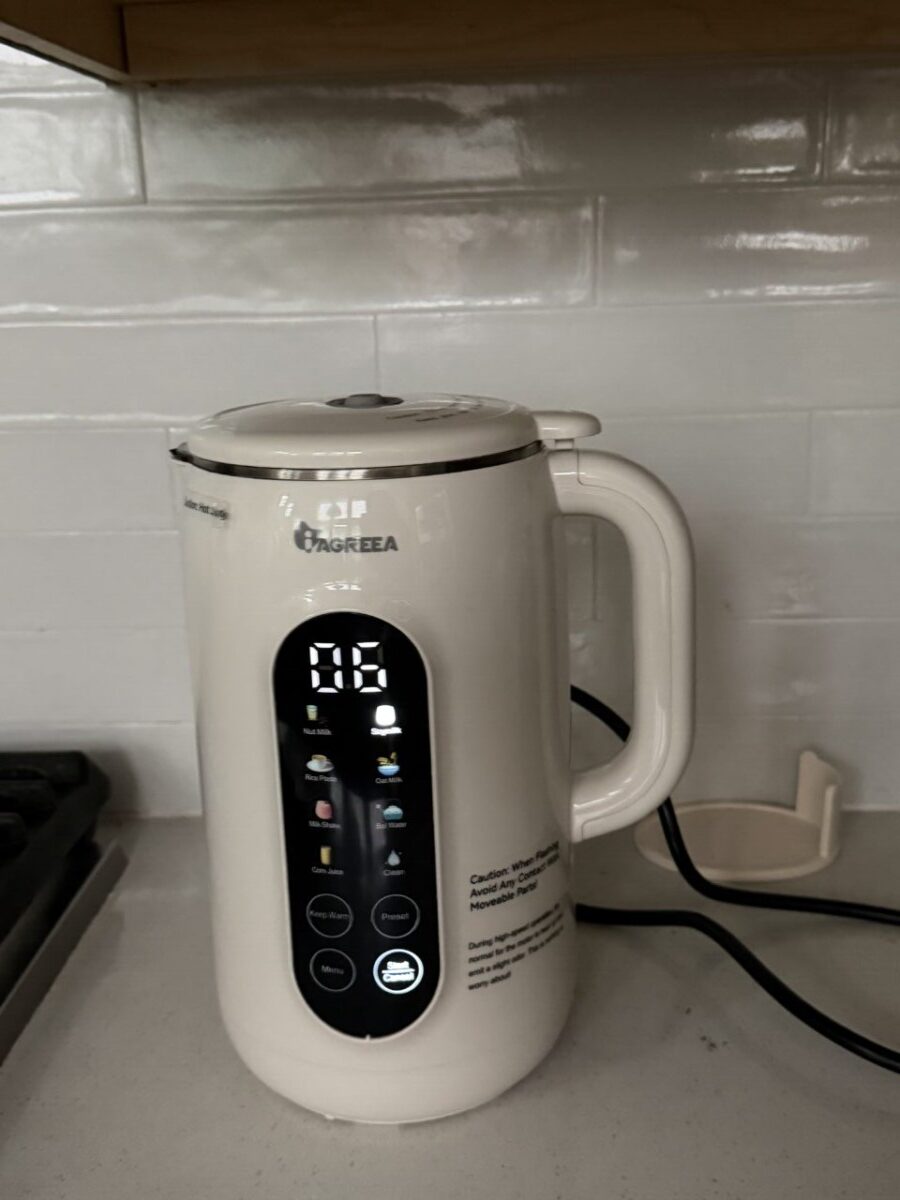
| Black bean | 1/4–1/3 cup black beans | To the safe line | Beans/grains |
| Soy + oat | 1/3 cup soy + 2 tbsp oats | To the safe line | Soy/beans |
| Almond | 1/3 cup almonds | To the safe line | Nut milk if available |
Plain homemade soy milk
A pinch of salt softens the raw-bean perception. Vanilla, maple syrup, dates, or sugar are optional; adding them to individual glasses keeps the base useful for savory cooking.
- Rinse 1/3 to 1/2 cup dry soybeans and remove damaged beans.
- Soak only if the manual permits or recommends it.
- Add beans and water within the machine’s marked limits.
- Run the heated soy or bean program completely.
- Strain if a smoother drink is preferred, then season after cooking.
Black bean and soy-oat variations
Black beans make an earthier, gray-purple drink. Begin with 1/4 cup and add cinnamon or a small amount of sweetener after cooking. For a softer breakfast-style texture, add two tablespoons of rolled oats to the plain soy recipe rather than replacing all the beans.
Oats thicken quickly and can produce foam or starch film. Stay well below the maximum and use less on the next batch if the drink becomes pudding-like.
Texture problems and how to fix them
| Problem | Likely cause | Next-batch fix |
|---|---|---|
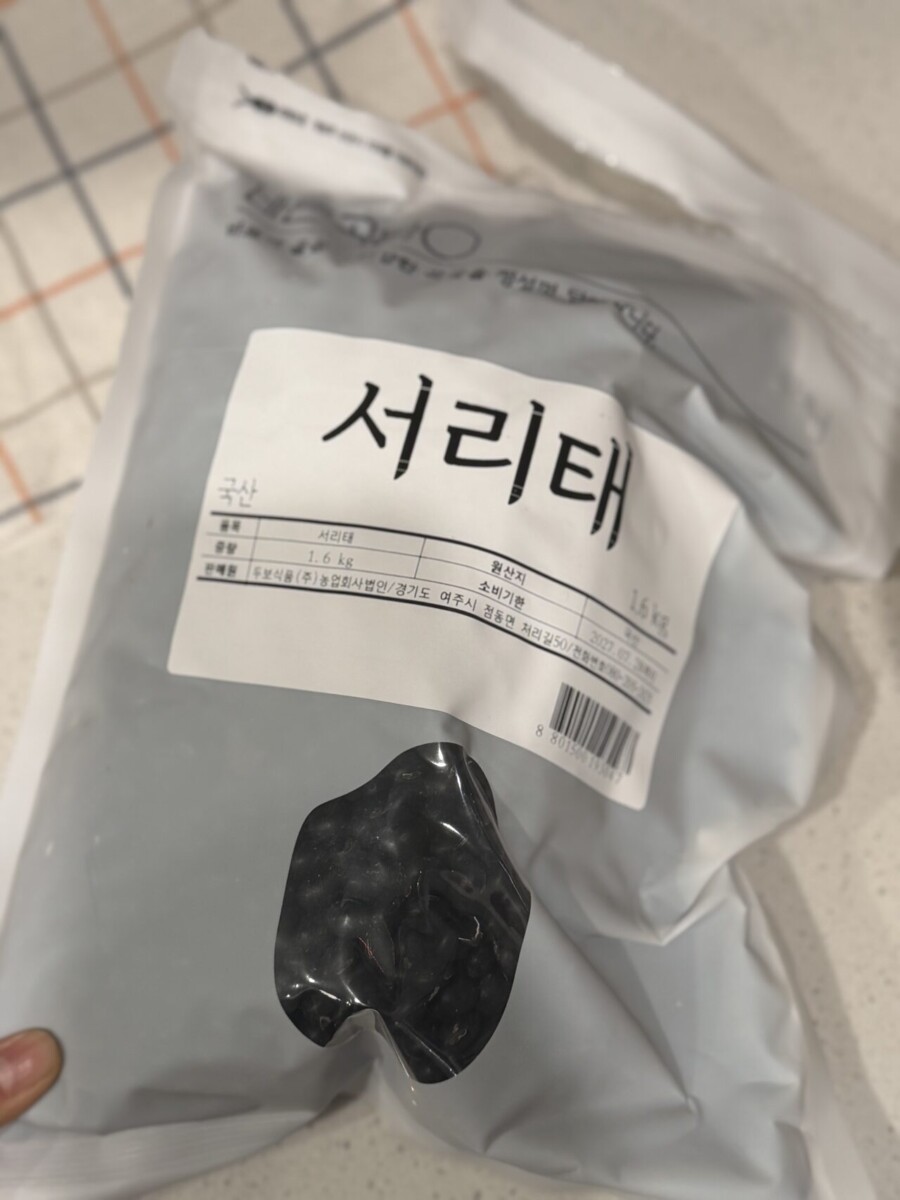
| Too thick | Too much bean or oat | Reduce dry ingredient by 20–25% |
| Gritty | Expected fiber or light blending | Strain while warm through a fine bag |
| Bland | Unsweetened base | Add salt and flavor after cooking |
| Scorched film | Ratio too dense or delayed cleaning | Use less ingredient and rinse immediately |
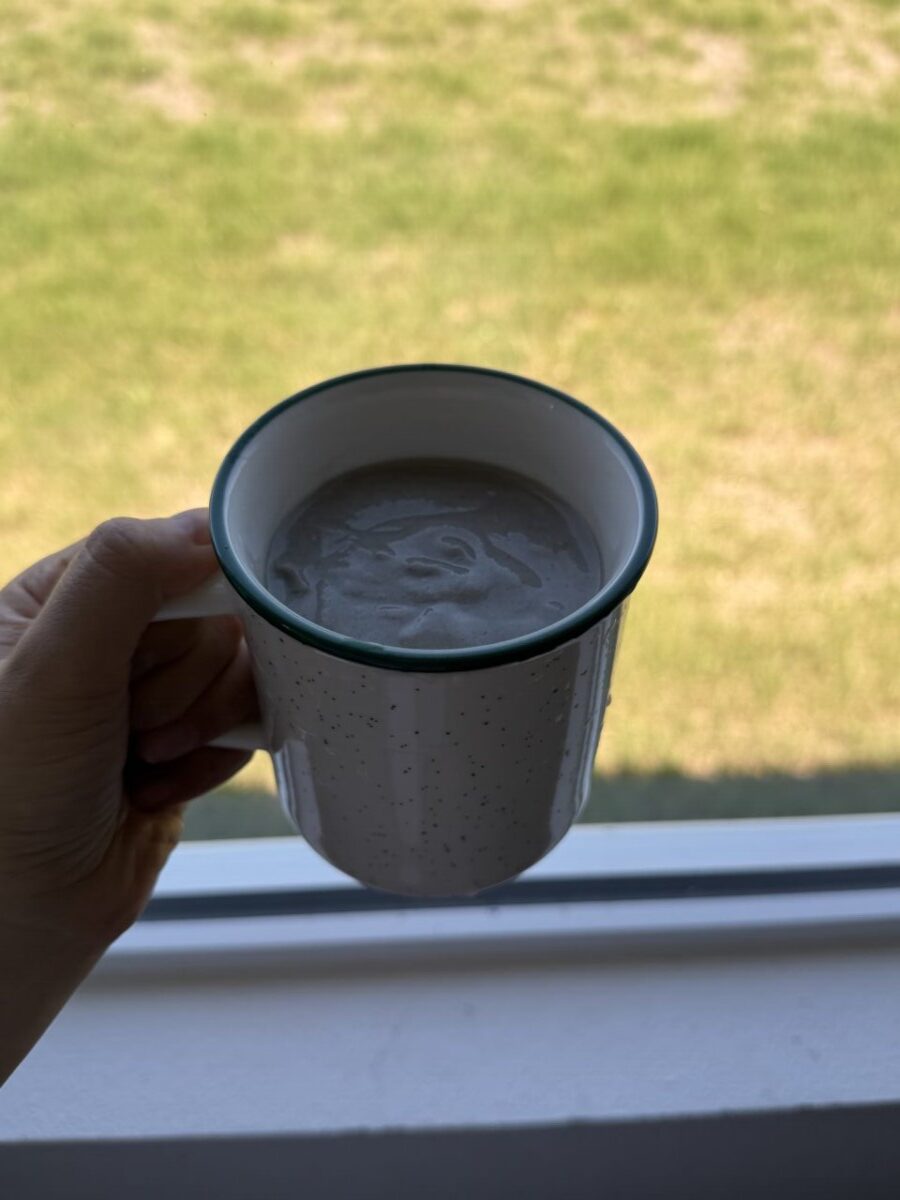
Honest review: convenience and limitations
The appeal is one-vessel heating and blending. In repeated home use, we could start a batch, let the programmed cycle finish, and pour without transferring hot beans to a separate blender. That convenience matters most for someone who makes plant milk several times a week; it is harder to justify for an occasional batch.
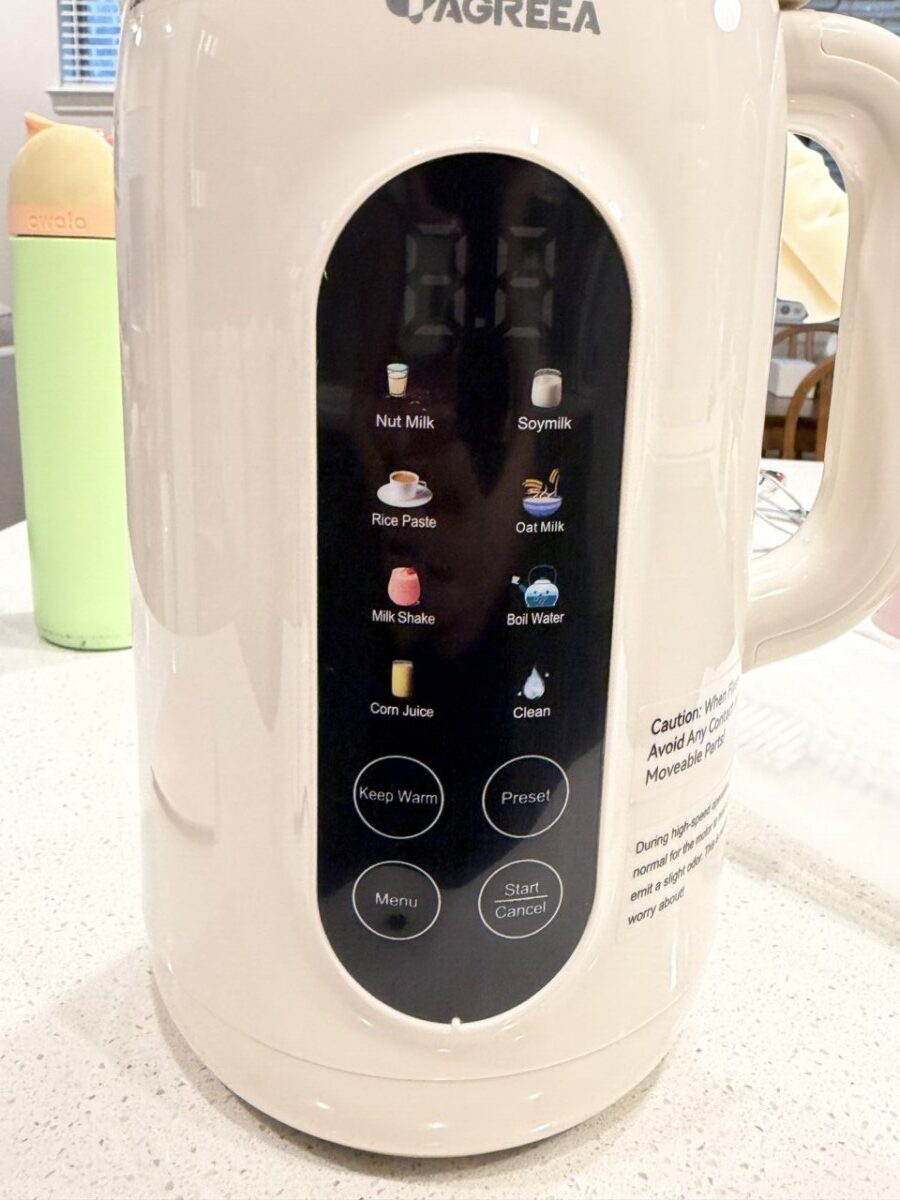
Capacity and controls: Our review unit is sold as a 35-ounce (about 1-liter) machine. In practice, the marked safe-fill range—not the vessel’s brim—is the usable limit, so it suits one or two regular drinkers better than a family preparing several days at once. The labeled programs are easy to select, but they do not remove the need to measure ingredients, respect the minimum and maximum lines, and choose the correct heated cycle.
Noise, heat, and texture: The loudest high-speed blending bursts are comparable to an ordinary countertop blender, even though the complete cycle is not continuously loud. The body and drink become hot, so this is not an appliance to run at the edge of a counter or within a child’s reach. Plain soy milk came out smooth enough for everyday drinking, while bean-heavy or oat-heavy batches were noticeably thicker and left more residue; a fine strainer is still useful for people who dislike fiber.
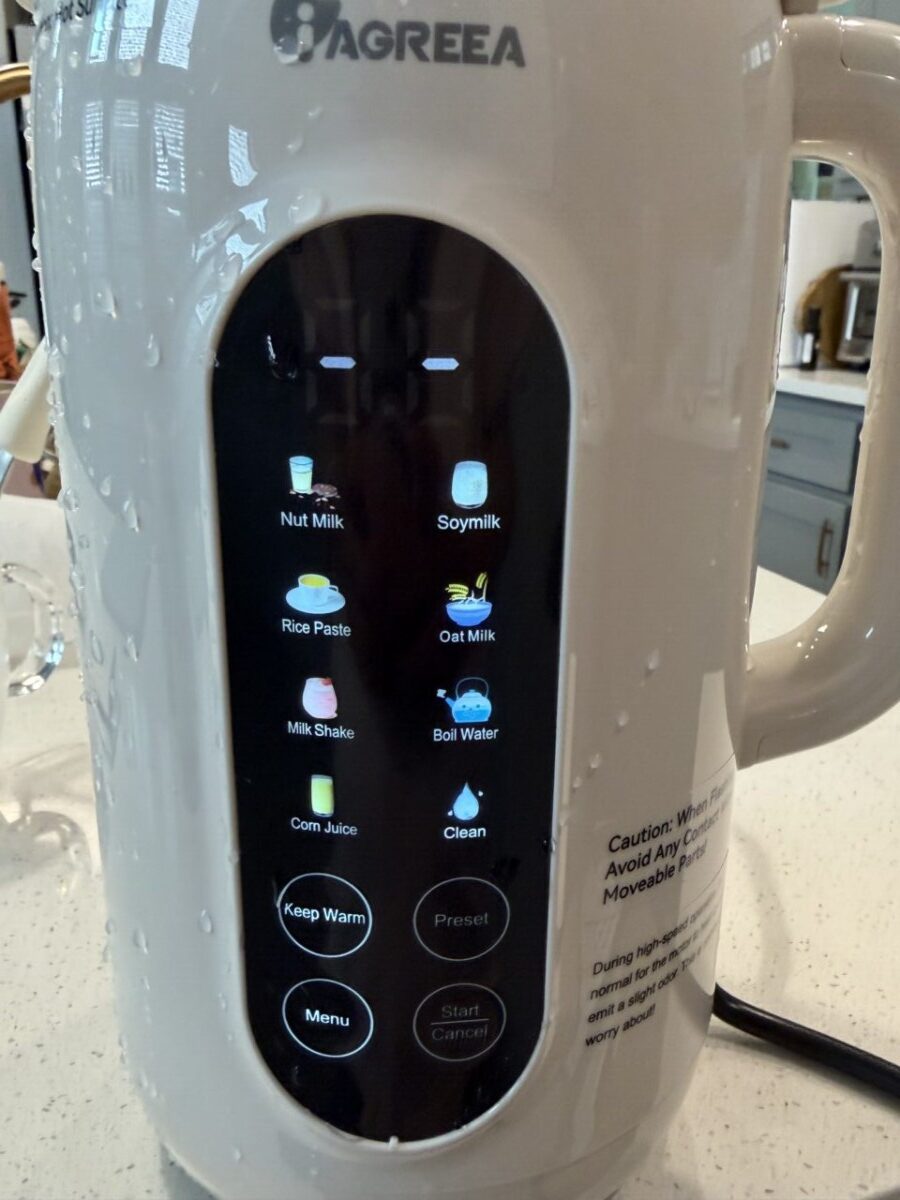
Cleanup reality: The Clean program loosens fresh film around the blade and inner wall, but it is a rinse aid rather than a hands-off dishwasher. Pouring promptly, running the cycle while residue is still soft, and wiping any remaining ring made the biggest difference. Letting a thick batch dry creates substantially more work.
Who should skip it: Look for a larger machine if you need more than roughly two servings per cycle. A conventional blender may be the better value if you make plant milk only occasionally, need near-silent operation, or want removable dishwasher-safe parts. Before buying, confirm the current model’s capacity, voltage, return terms, and replacement support because brand availability and bundles change online.
Cleaning, cooling, and storage
Homemade plant milk has no commercial preservative system. Make smaller batches that the household will finish within a few days instead of relying on a long refrigerator life.
- Unplug and follow the manual’s hot-surface instructions.
- Pour the drink, then start the approved cleaning cycle immediately.
- Use a soft non-scratch tool on remaining film; keep electrical areas dry.
- Cool the drink promptly in clean containers and refrigerate.
- Shake before serving and discard it if odor, pressure, or texture seems wrong.
Frequently asked questions
Do soybeans need to be soaked for a soy milk maker?
It depends on the machine. Some heated programs accept dry beans; others recommend soaking. Follow the specific manual.
Why is my homemade soy milk too thick?
The dry-ingredient ratio is usually too high, especially when oats are included. Reduce the next batch by 20–25% rather than exceeding the water line.
Can I put sugar in a soy milk maker?
Some manuals prohibit certain added ingredients during heating. The safest flexible method is to sweeten after the cycle unless your manual says otherwise.
How long does homemade soy milk last?
Cool it promptly, refrigerate it in a clean container, and plan to use it within a few days. Discard any batch with signs of spoilage.
Keep planning with ATL Playbook
Editorial note: Details were checked in August 2026. Prices, schedules, policies, and availability can change; confirm the final terms before paying or traveling.