How to Clean a Rice Cooker Without Damaging the Inner Pot
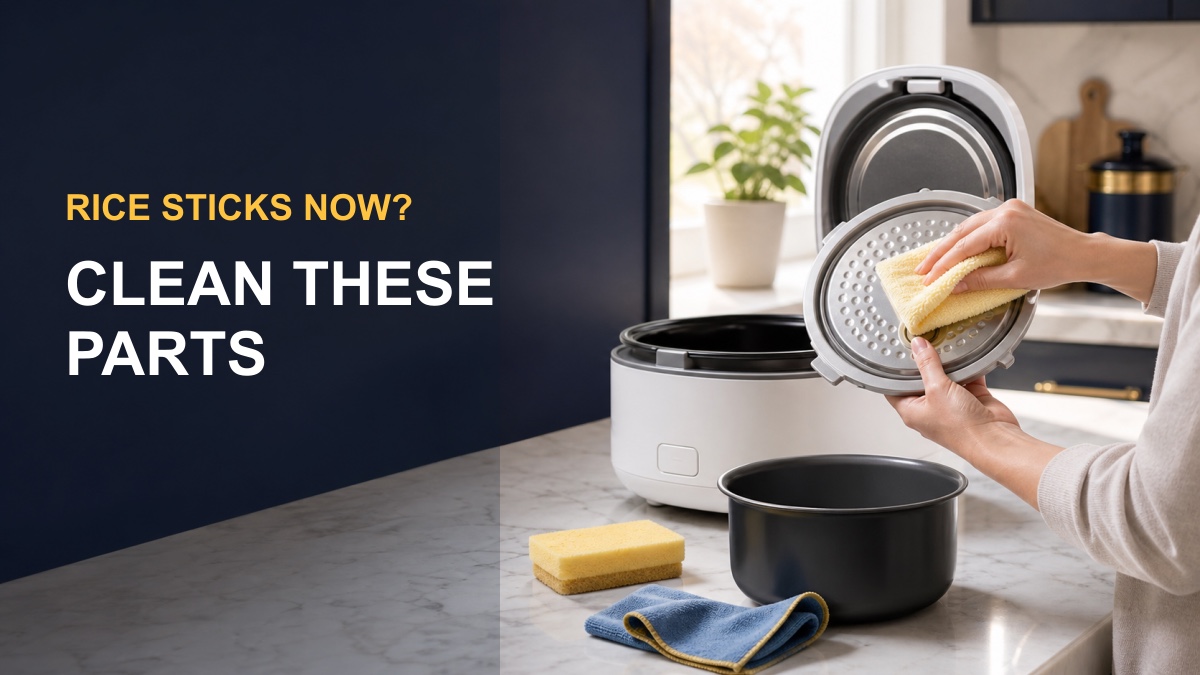
Yesterday’s rice left a cloudy film around the lid, and today’s batch is sticking more than usual. Reaching for a scrub pad is the fastest way to make the problem worse.
To clean a rice cooker, unplug it, let it cool, wash only the removable parts with mild dish soap and a soft sponge, then dry every surface before reassembly.
The inner pot’s coating, temperature sensor, steam vent, and electrical base need different treatment. Cleaning them as one object is where damage begins.
The safest rice-cooker cleaner is usually not a clever pantry acid. It is a soft sponge, mild detergent, and the exact removable-parts map in the manual.
The Parts Map: What Can Get Wet?
| Part | Safe routine | Avoid |
|---|---|---|
| Inner pot | Soft sponge, mild dish soap, warm water | Metal utensils, abrasive pads, harsh cleanser |
| Removable inner lid and steam cap | Wash as the manual directs; clear openings gently | Forcing gaskets or valves apart |
| Heating plate and center sensor | Cool, dry or barely damp soft cloth | Pouring water into the base |
| Exterior and control panel | Wipe with a soft cloth, then dry | Spray cleaner, dripping cloth, submersion |
A removable lid on one model may be fixed on another. Look for release tabs and cleaning diagrams before pulling on any gasket, valve, or plate.
How to Clean a Rice Cooker Step by Step
- Unplug and cool the cooker. Never clean the heating area while it is hot or connected to power.
- Remove the inner pot and approved removable parts. Empty rice before it dries into a hard ring.
- Soak only removable washable pieces. A brief warm-water soak can loosen starch without scraping.
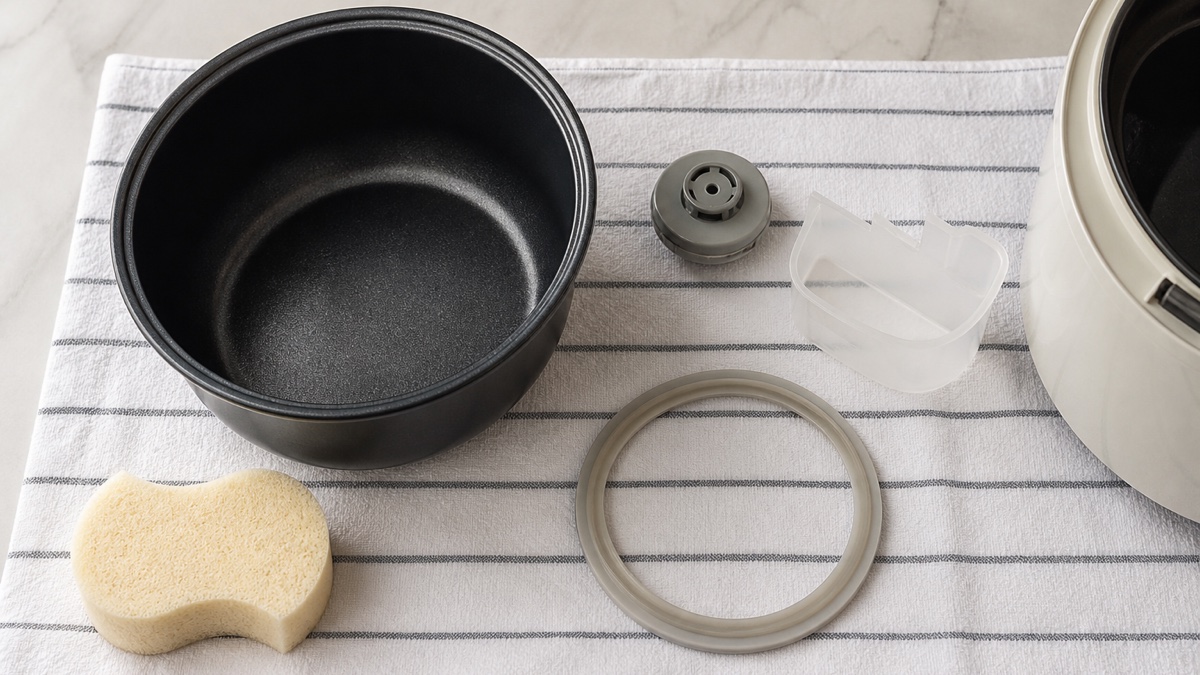
- Use mild dish soap and a soft sponge. Clean the pot, inner lid, steam cap, and condensation collector as applicable.
- Wipe the cool heating plate and sensor. Remove grains with a soft dry cloth; never bend the sensor.
- Dry every piece and the pot exterior. Moisture between the pot and heating plate can interfere with heating.
- Reassemble only when fully dry. Confirm the steam cap and inner lid are seated correctly.
Do not submerge the cooker body or pour water into the heating chamber. Skip steel wool, melamine sponges, bleach, oven cleaner, and universal vinegar hacks unless the exact manual permits them.
The Hidden Starch Zones People Forget
Steam carries starch beyond the pot. Check the inner lid, vent passages, steam cap, condensation collector, rim, and the underside of the lid after every use.
A blocked steam vent is not merely cosmetic. If it will not clear using the manual’s method, stop and contact the manufacturer rather than probing it with metal.
Zojirushi also advises keeping the air vent clear and notes that a vacuum can remove dust from the vent area on appropriate models.
When Sticking Means the Pot Is Worn
A clean pot can still stick when the nonstick coating is deeply scratched, peeling, blistered, or worn thin. Cleaning cannot rebuild that surface.
Replace a damaged inner pot with the exact compatible part. A similar-looking pot may sit incorrectly on the sensor or heat unevenly.
Use the rice paddle supplied for the pot, wash soon after the meal, and keep the pot exterior dry. Those three habits prevent more damage than aggressive deep cleaning.
If you also use a heated blender, our soy milk maker recipes and cleanup review explains why fresh starch film is easier to remove than dried residue.
Frequently asked questions
Can I put the rice-cooker pot in the dishwasher?
Only if the exact manual says it is dishwasher-safe. Heat, detergent, and rack contact can damage some nonstick finishes and removable components.
Can I use vinegar to descale a rice cooker?
Do not assume so. Some manufacturer instructions warn against vinegar or specify a model-specific self-cleaning cycle using water only.
How often should I clean the rice cooker?
Wash the pot and food-contact removable parts after every use. Inspect steam and condensation areas each time, then clean vents at the interval in the manual.
Sources and model guidance
Guidance checked in August 2026. Always follow the manual and label for the exact appliance, filter, or textile.