How to Organize a Refrigerator: A Food-Safe System
A container of strawberries has collapsed into unrecognizable mush in the back corner.
On the door, a second bottle of the same sauce is waiting because no one could see the first one.
That is not just clutter. It is a visibility problem—and it quietly turns groceries into waste.
How to organize a refrigerator: build around food safety first and convenience second.
Keep the refrigerator at 40°F or below. Store ready-to-eat food above raw food, and contain raw meat on the lowest practical shelf.
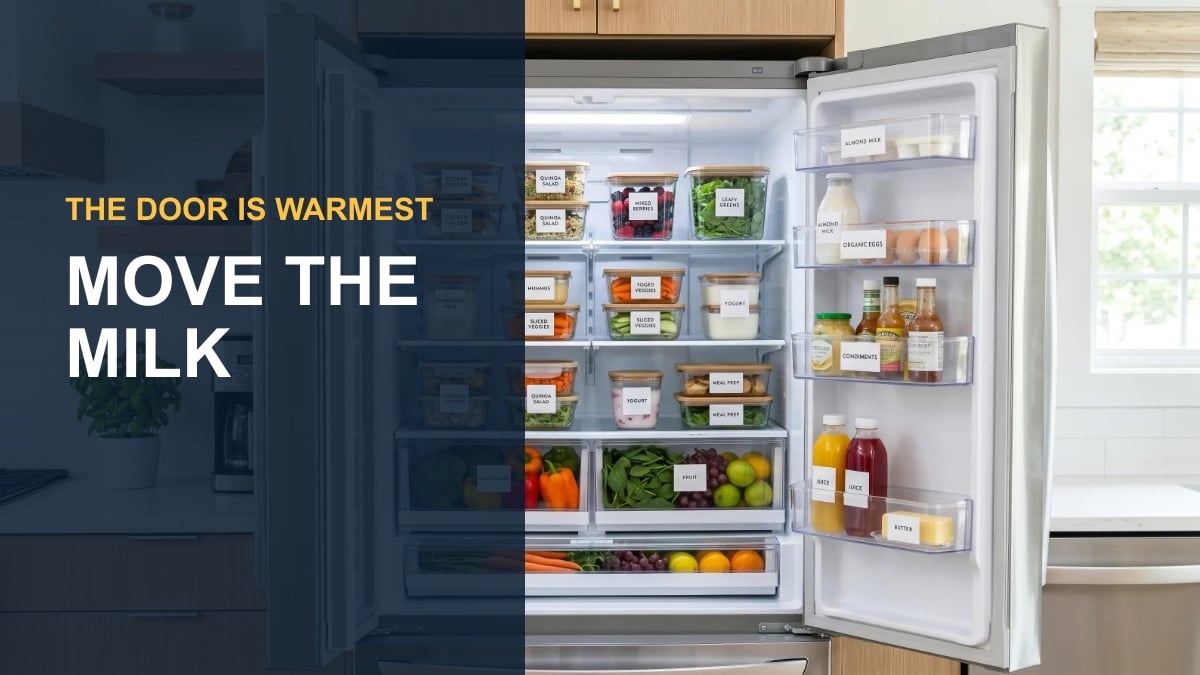
Use the door for less temperature-sensitive condiments, keep vents clear, and create one visible “eat first” zone.
The Temperature Map: What Goes Where
| Zone | Store here | Why it works |
|---|---|---|
| Top shelf | Leftovers, cooked foods, ready-to-eat snacks | Keeps ready-to-eat food visible and above raw food |
| Middle shelf | Milk, yogurt, eggs in their carton, meal-prep containers | Interior shelves usually stay steadier than the door |
| Lowest practical shelf | Raw meat, poultry, and seafood in a sealed leakproof tray | Contains drips below food that will not be cooked |
| Door | Condiments, sauces, pickles | Best for less temperature-sensitive items |
| High-humidity crisper | Leafy greens, broccoli, herbs | Higher humidity slows moisture loss |
| Low-humidity crisper | Apples, pears, and many ripening fruits | Allows more moisture and ethylene to escape |
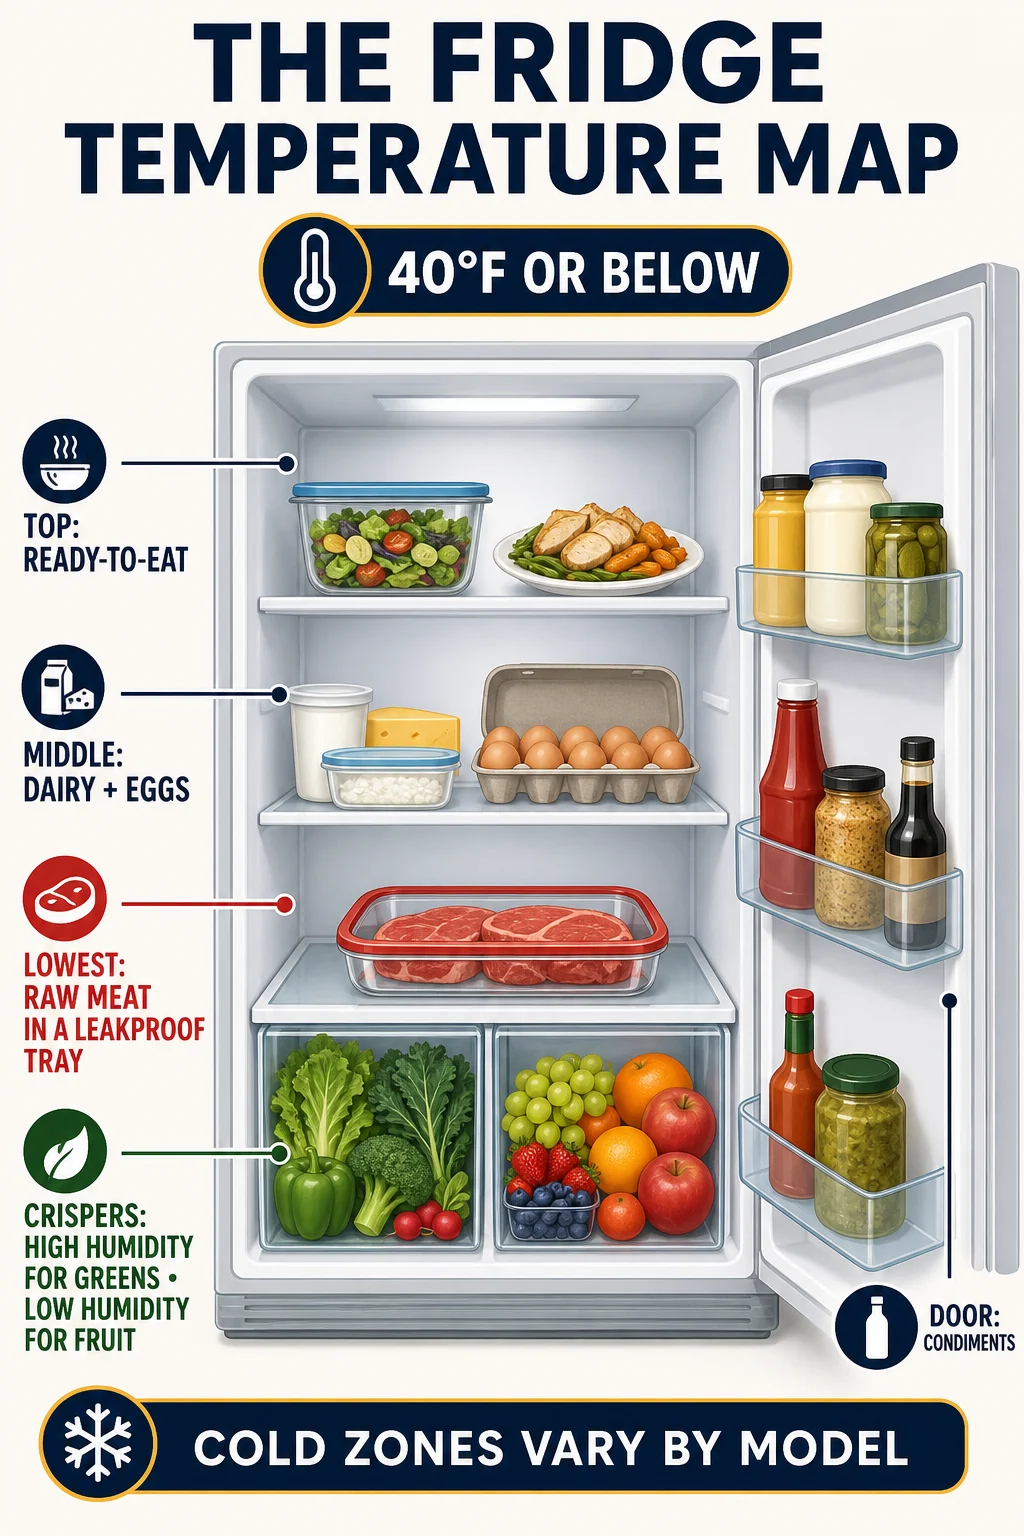
Use this as a food-safety map, not a claim that every refrigerator cools identically.
Cold zones vary by model. Follow the owner’s manual for deli drawers, air towers, and temperature-controlled compartments.
The best refrigerator system makes safe food visible before it becomes forgotten food.
The short version
- Temperature: 40°F or below; freezer at 0°F
- Top and middle: leftovers, drinks, cooked food, and ready-to-eat items
- Bottom: raw meat, poultry, and seafood in a leakproof tray
- Door: condiments, pickles, sauces, and other less-sensitive items
- Crispers: high humidity for leafy vegetables; low humidity for many ethylene-producing fruits
Before buying bins, fix temperature and airflow
Organization starts with a refrigerator thermometer, not matching containers.
The FDA recommends a refrigerator temperature at or below 40°F and a freezer at 0°F.
An inexpensive appliance thermometer is more reliable than assuming the control marked “3” or “recommended” equals the actual air temperature.
Place the thermometer near the center, allow it to stabilize, and check it at different times.
If the refrigerator is too warm, adjust the control gradually and make sure food is not blocking the vents.
The FDA also warns against packing the refrigerator so tightly that cold air cannot circulate.
This is the key tradeoff: bins can create categories, but too many solid bins can reduce visibility and airflow. Use only enough containers to control leaks and group small items.
On a hot Atlanta day, put cold and frozen groceries away first. Save the bin reset for after food is back under refrigeration so hot-car loading does not shorten its safe holding time.
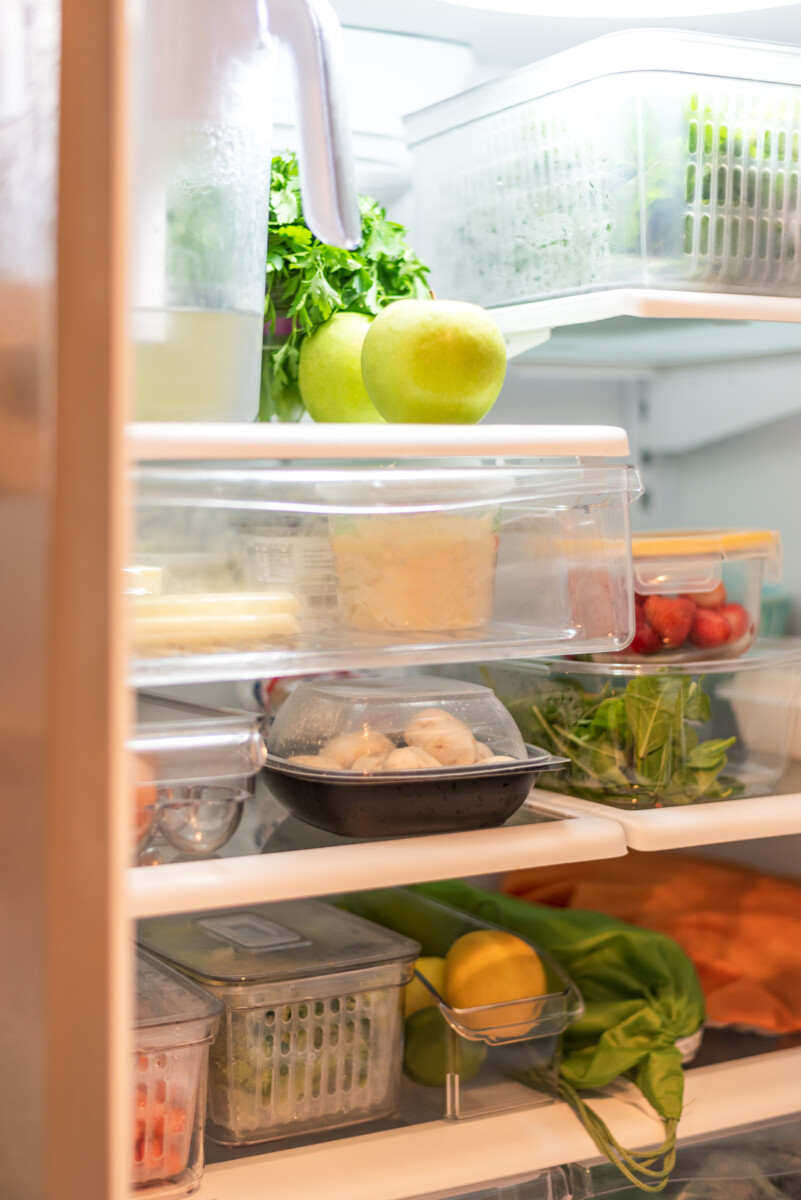
How to organize a refrigerator step by step
- Work one shelf at a time. Keep perishable food out for the shortest possible time. Use a cooler with ice packs if a full clean will take longer.
- Discard unsafe or spoiled food. Do not taste food to decide whether it is safe. Check dates, condition, storage history, and FDA or USDA storage guidance.
- Clean spills and dry the shelf. Follow the appliance manual, especially for cold glass shelves that can break after a sudden temperature change.
- Create zones. Assign leftovers, breakfast, lunch packing, dairy, drinks, raw proteins, and produce a predictable home.
- Put older food in front. Use a first-in, first-out habit so a new yogurt does not hide one that expires tomorrow.
- Add an “eat first” bin. Place opened food and short-life produce where everyone can see it.
- Label leftovers. Add the food name and date. A label is useful only if the household understands what the date means.
- Leave breathing room. Keep vents clear and avoid stacking containers against the back wall if food tends to freeze there.
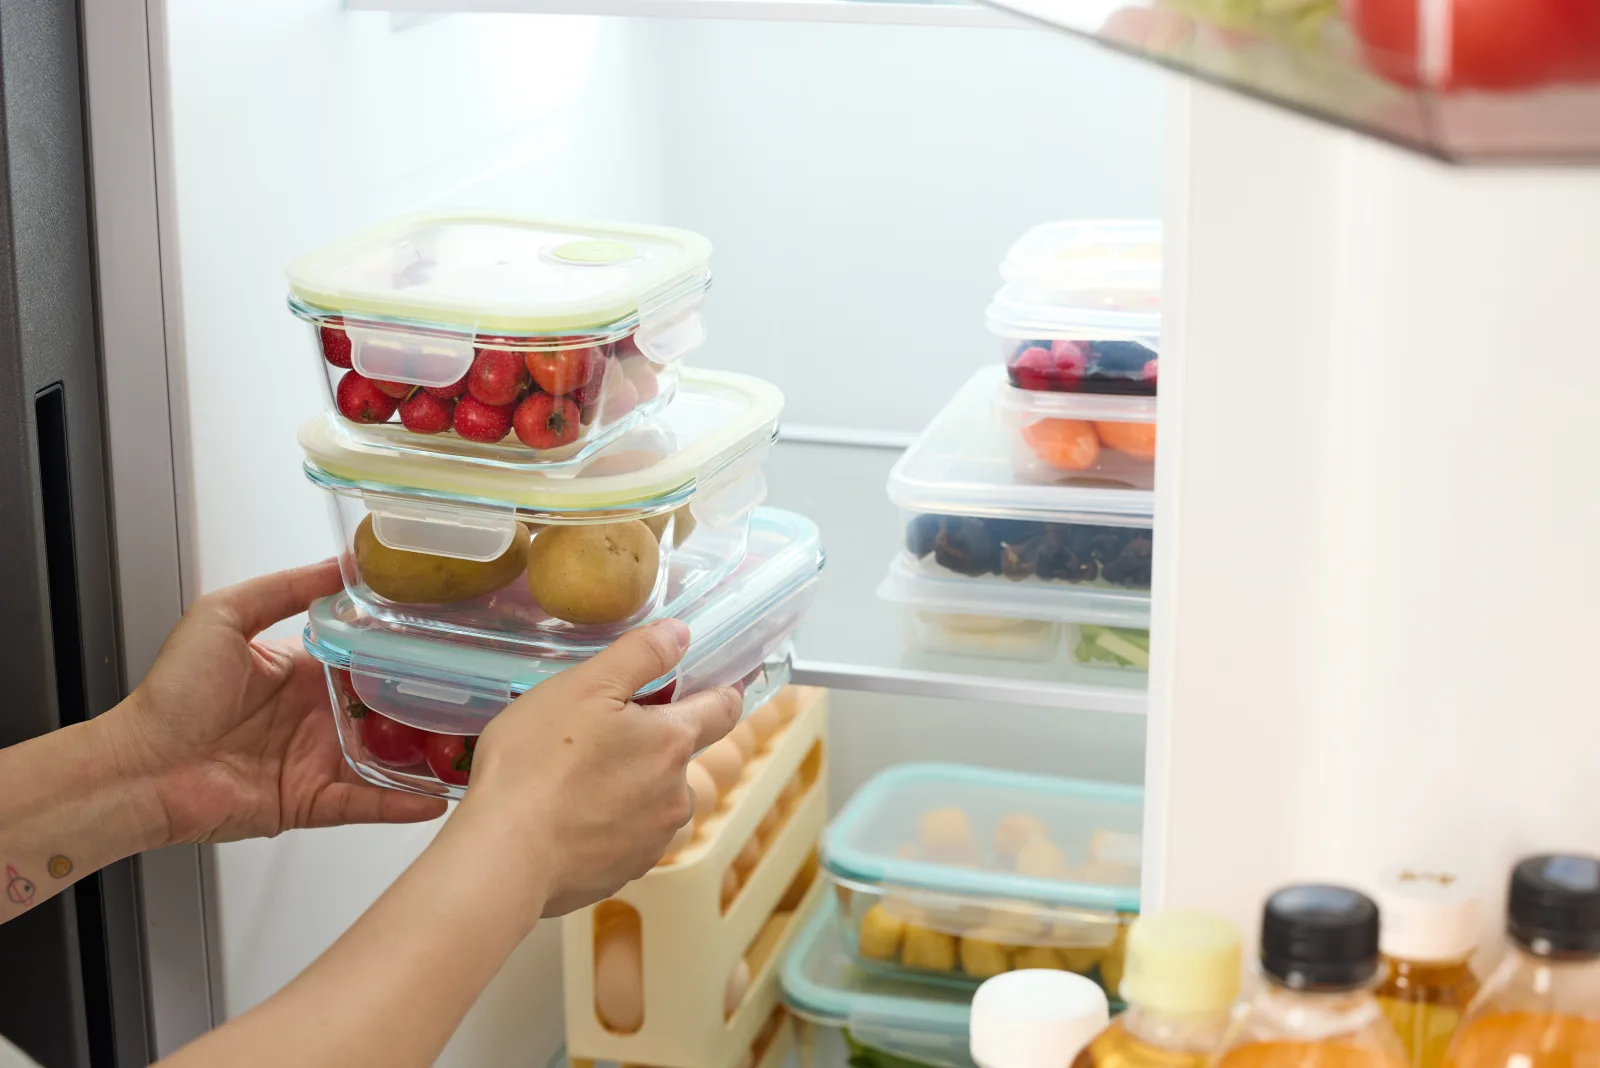
Contain raw meat instead of relying on shelf liners
Raw meat belongs below ready-to-eat food because a leak should not drip onto food that will not be cooked.
Keep packages in a washable, leakproof tray or sealed container on the lowest practical shelf.
A paper liner may catch a small drip, but it is not a substitute for containment.
Marinate meat in a covered container in the refrigerator. Clean and sanitize any surface touched by raw juices, and wash hands after handling the package. This simple hierarchy matters more than whether every container matches.
Perishable food should not sit at room temperature for more than two hours—or one hour when the air temperature is above 90°F.
That shorter limit matters when unloading groceries from a hot car during an Atlanta summer.
Use crisper humidity instead of treating both drawers alike
A high-humidity setting reduces moisture loss, which helps many leafy and thin-skinned vegetables.
A low-humidity setting allows more moisture and ethylene gas to escape, making it a better fit for many ripening fruits such as apples and pears.
The useful rule is “rot low, wilt high”: produce that tends to rot prefers lower humidity, while produce that tends to wilt often benefits from higher humidity.
It is a starting point rather than a substitute for the appliance manual or produce-specific storage advice.
Do not wash all produce before storage unless you can dry it thoroughly and the food benefits from prep.
Added surface moisture can speed spoilage.
Remove visibly spoiled items promptly so they do not affect the rest of the drawer.
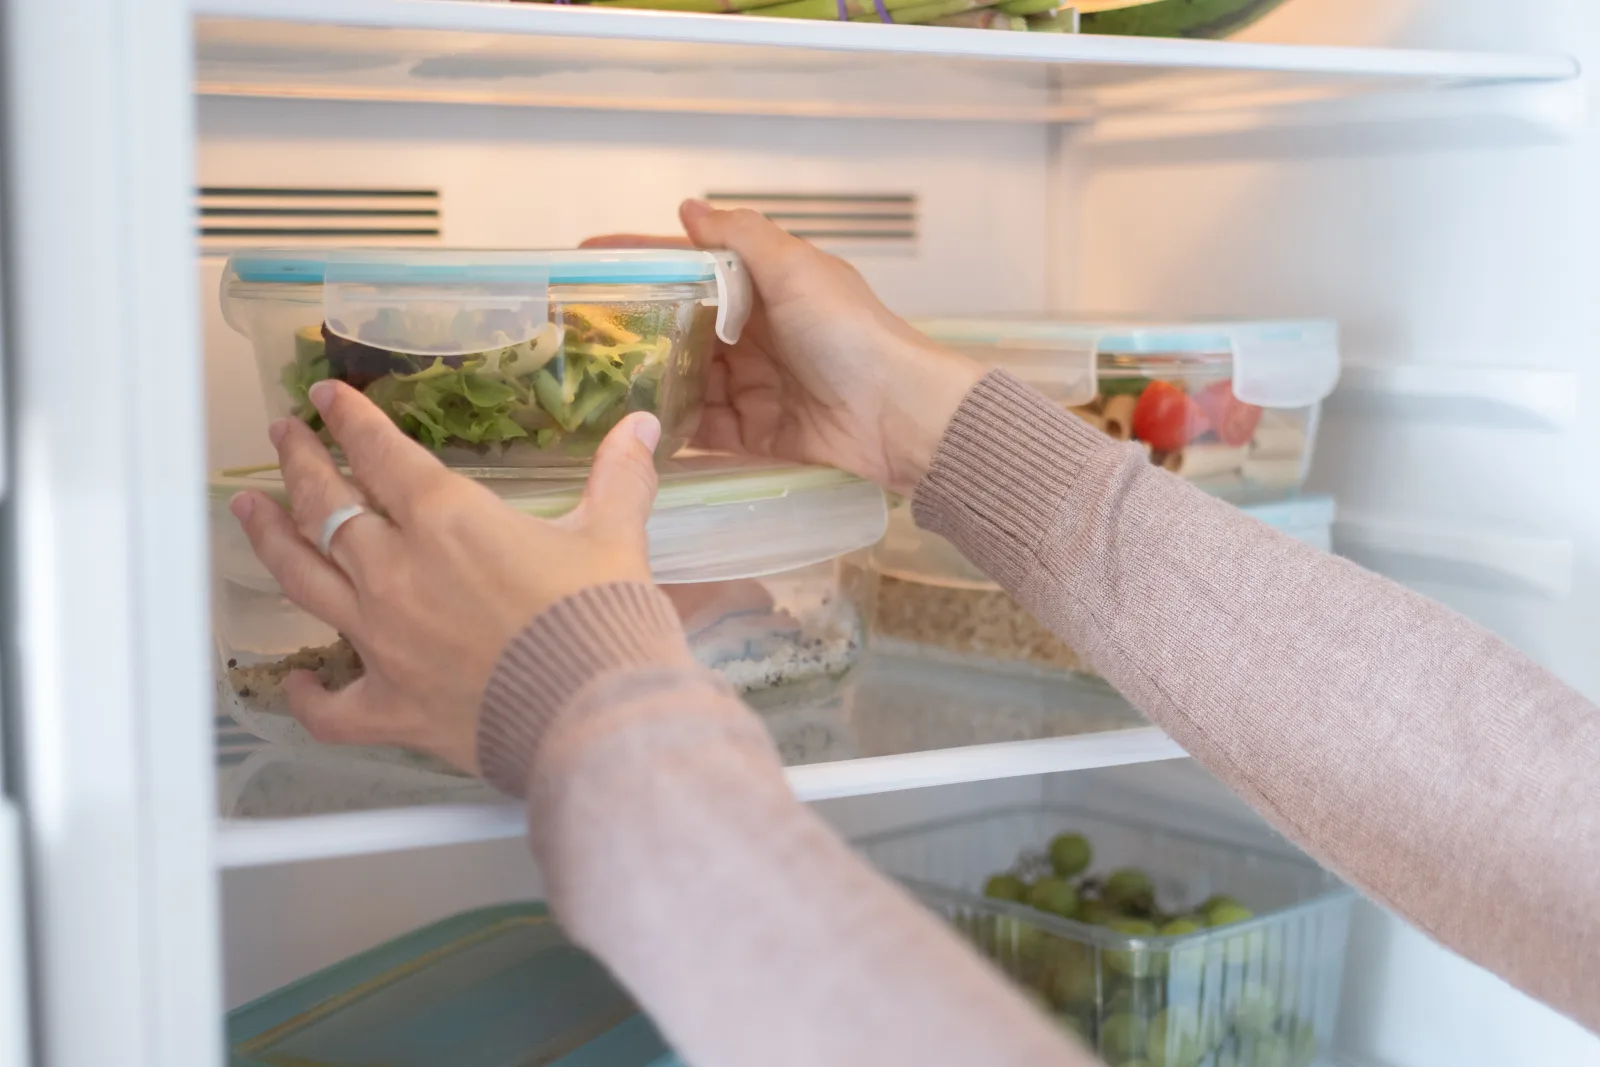
The Back-Shelf Fix: Which Fridge Organizers Are Worth It?
- Clear stackable bins: Useful for yogurt, snacks, sauces, and small packages. The ClearSpace 8-Pack keeps narrow categories visible and lets you pull the entire bin forward—measure the shelf before ordering.
- Leakproof raw-meat tray: The most important organizer for cross-contamination control.
- Turntable: Helpful for jars on a deep shelf if it does not block a vent.
- Stackable glass containers: Good for visible leftovers and reheating when used according to the container instructions.
- Labels or removable tape: More useful than decorative category labels because dates drive action.
- Refrigerator thermometer: The first purchase, even though it is not visually exciting.
Foods disappear when every jar blocks the one behind it. A clear bin turns a deep shelf into one pull-forward category.
This eight-pack uses 10-by-4-by-3-inch bins with handles. They stack, but measure first, keep vents clear, and hand-wash them as directed.

Skip organizers that force food into a rigid social-media layout. The goal is to see what you own, keep food cold, prevent leaks, and clean quickly.
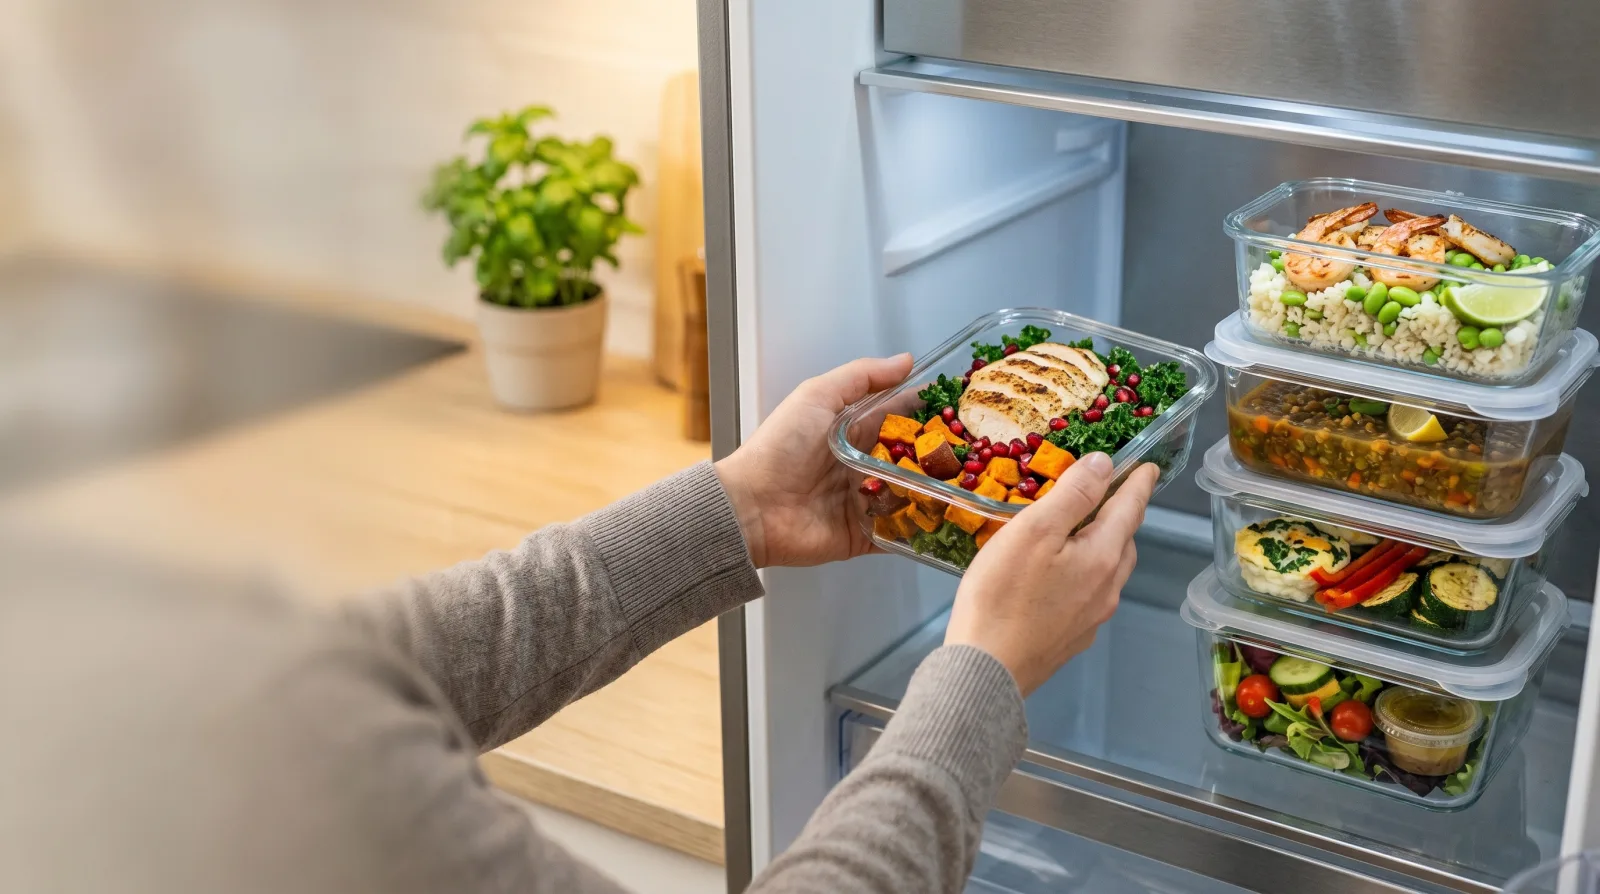
The “One-In, One-Out” Fridge Rule
Before new groceries go in, check the matching category and move the older item forward.
“One in, one out” is a visibility rule—not an instruction to discard food that is still safe.
- Check the thermometer.
- Move short-life food into the eat-first zone.
- Discard food that is spoiled or outside safe storage guidance.
- Wipe new spills before they dry.
- Plan one meal around open produce and leftovers.
- Make the grocery list only after looking through the refrigerator.
A short weekly reset keeps the system visible. A rare two-hour makeover cannot compensate for six weeks of forgotten containers.
Frequently asked questions
What is the correct way to organize a refrigerator?
Keep the refrigerator at 40°F or below, store ready-to-eat food above raw food, contain raw meat on the lowest practical shelf, use the door for less-sensitive items, and keep older food visible in front.
Where should milk and eggs go in the refrigerator?
A middle or lower interior shelf usually provides a steadier cold temperature than the door. Keep eggs in their original carton unless the appliance manual directs otherwise.
Should raw meat go on the bottom shelf?
Yes. Keep raw meat, poultry, and seafood below ready-to-eat food in a sealed package and leakproof tray to reduce the risk of juices dripping onto other food.
Do refrigerator bins keep food fresher?
Bins improve grouping and visibility, but they do not make food safer by themselves. Too many bins can block airflow. Temperature, containment, storage time, and the food’s condition matter more.
Need overflow storage for bulk groceries? Our garage-ready refrigerator comparison explains the temperature ratings that matter in Atlanta. If the main appliance dispenses water or ice, also check when to change the refrigerator water filter.
Sources
- FDA: Are You Storing Food Safely?
- USDA FSIS: Food Safety Basics
- Whirlpool refrigerator organization guide
Information checked in August 2026. Always follow your refrigerator manual and current FDA/USDA guidance for the specific food.